
Building a new PC is an exciting endeavor for many tech enthusiasts. However, few things are as disheartening as the moment you power on your freshly assembled machine only to find… no display.
But fear not! In this guide, we’ll walk you through 14 quick fixes for resolving the dreaded “no display” issue with your new PC build.
1. Check the Power Connections
Before diving deep into complex solutions, it’s essential to ensure all power connections are properly secured.
Ensure the PSU is On
Most Power Supply Units (PSUs) have a switch on the back. It’s simple but essential. Make sure the switch is in the “I” position (not “O”).
Inspect All Power Cables
Inspect the motherboard, GPU, and other essential components. A loose connection can easily cause the display to remain dark.
- Motherboard: Check the 24-pin ATX power connector.
- CPU: Ensure the 4 or 8-pin connector is tightly secured.
- GPU: If your GPU requires power, make sure the 6 or 8-pin connectors are attached.
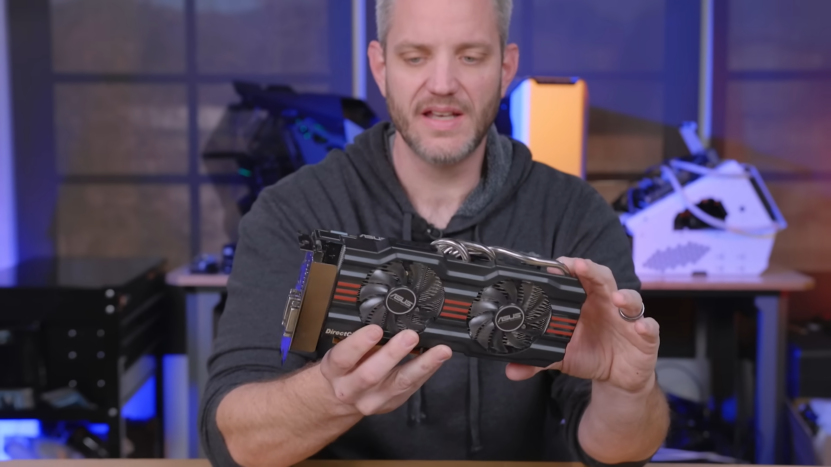
2. Test with Onboard Graphics
Onboard graphics, integrated directly into the motherboard, can help determine if your GPU is causing the problem.
Disconnect Dedicated GPU
Remove your dedicated graphics card. Connect your monitor directly to the onboard graphics port, usually HDMI or VGA.
BIOS Settings
Sometimes, the motherboard defaults to onboard graphics. If the display works without the dedicated GPU:
- Reinstall the GPU.
- Boot to BIOS and set the primary display to PCIe.
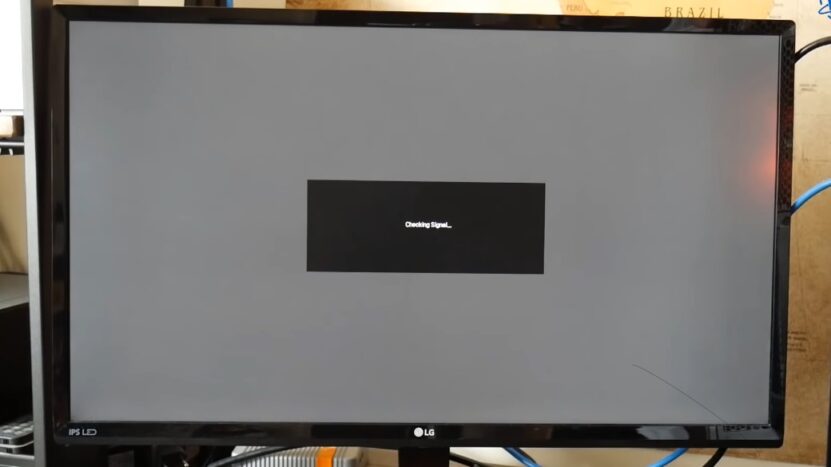
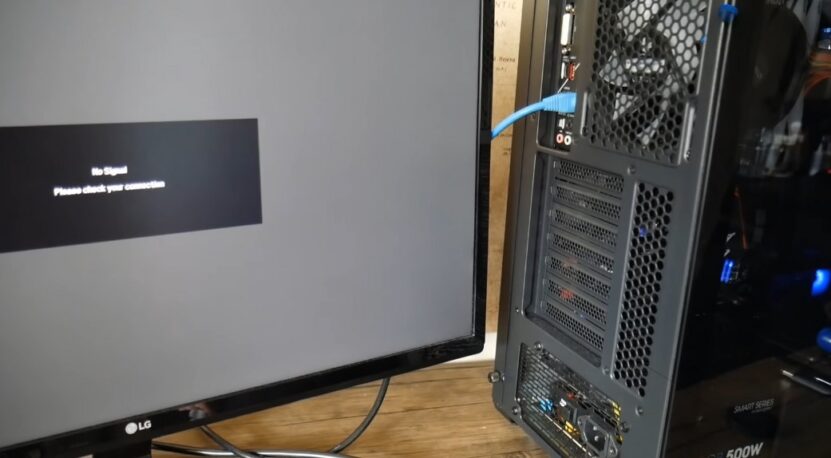
3. Monitor and Cable Inspection
The issue might not always lie with the PC. Sometimes, it’s the monitor or the cable.
Test with Another Monitor
If possible, connect your PC to a different monitor. If it displays correctly, your original monitor may be the issue.
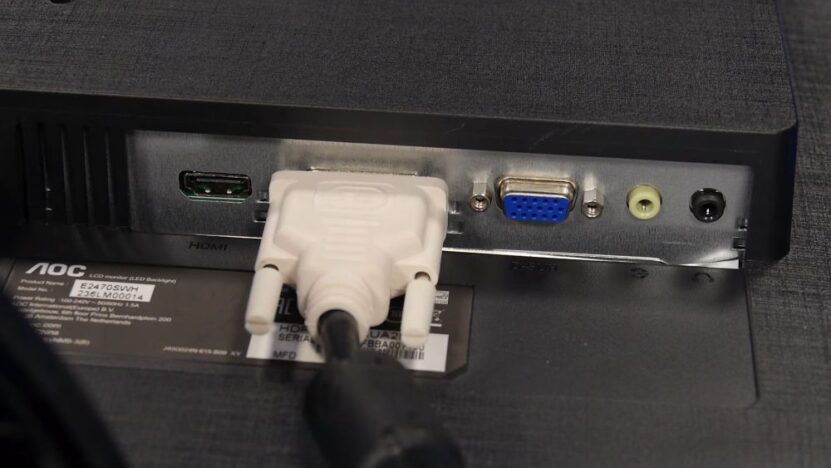
Inspect Cables
Cables can become damaged over time. Examine your cables for any visible damage and try a different cable if you have one available.
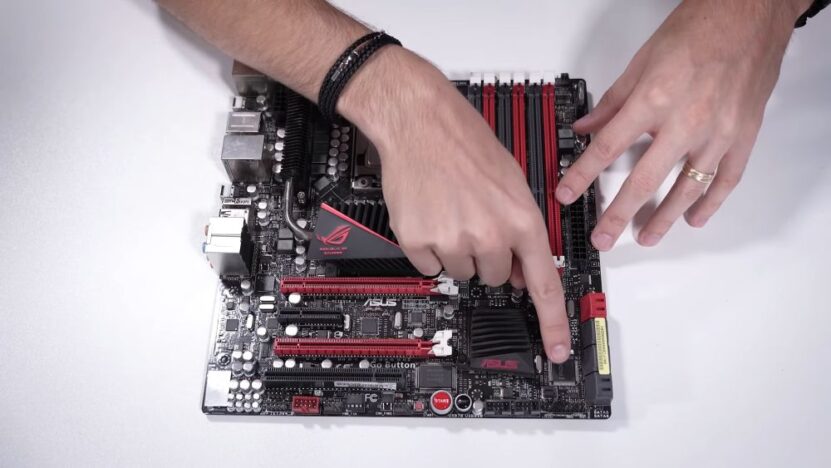
4. Re-seat RAM Modules
Incorrectly seated RAM can prevent a PC from displaying anything.
Turn Off and Unplug PC
Safety first! Ensure your PC is unplugged and the PSU switch is off.
Re-seat RAM
- Open the PC case.
- Gently remove RAM sticks from their slots.
- Reinsert them, ensuring they click into place.
5. Clear CMOS
The motherboard’s CMOS might have incorrect settings, causing display issues.
Locate the CMOS Jumper/Button
Most motherboards come with a jumper or button to clear the CMOS. Refer to your motherboard’s manual.
Clear the CMOS
- Power off and unplug your PC.
- Use the jumper/button to clear CMOS.
- Try powering on again.
6. Inspect for Damage
Physical damage to components can obviously lead to display issues.
Visual Inspection
- Check for any signs of burns, bent pins, or other visible damages on the motherboard, GPU, and other components.
Smell Test
Damaged components often emit a burnt smell. If you detect any such odor, trace its source and replace the affected part.
7. Minimal Boot Test
Performing a minimal boot can help isolate problematic components.
Disconnect Non-Essential Components
Leave only the motherboard, CPU, one RAM stick, and power connections.
Attempt Boot
Try to boot the PC. If the display works, reconnect components one by one to identify the culprit.
8. Ensure GPU Compatibility
In some cases, your motherboard might not be compatible with your GPU.
Check Motherboard’s QVL
Quality Vendor Lists (QVL) provided by motherboard manufacturers list compatible GPUs.
BIOS/Firmware Update
If your GPU isn’t on the QVL, check if a BIOS/firmware update is available for your motherboard. This might add compatibility.
9. Test with an External Speaker
Sometimes, the PC might be booting, but an issue prevents it from displaying.
Connect an External Speaker
Connect a speaker to the motherboard’s speaker header.
Listen for Beep Codes
Different beep patterns can indicate specific hardware errors. Consult your motherboard’s manual to decode them.
10. Inspect the CPU
One of the overlooked culprits can be the CPU itself or its seating.
Check for Bent Pins
- Carefully remove the CPU from its socket.
- Inspect for bent or broken pins. If any are found, they might be the reason for the display issues. Some bent pins can be gently straightened with tools like tweezers, but be cautious.
Re-seat the CPU
- Ensure that the CPU is properly aligned with its socket, following the alignment markers.
- Once placed, ensure the retention mechanism (like the lever) is securely fastened.
11. BIOS/UEFI Version
Sometimes, a newer component might require an updated BIOS/UEFI to function correctly.
Check Component Requirements
- Visit the website of your motherboard manufacturer.
- Check if any of your components, especially the CPU or GPU, require a certain BIOS/UEFI version.
Update BIOS/UEFI
If an update is required, you might need another compatible CPU to boot up and update the BIOS/UEFI. Borrow one or visit a local tech store for assistance.
12. External Graphics Card Power
Modern GPUs often require a significant amount of power, sometimes needing two connectors from the PSU.
Check GPU Power Requirements
- Review your GPU’s specifications on the manufacturer’s website or manual.
- Ensure you’ve provided all necessary power connections.
Try a Different PSU
In some instances, the PSU might not deliver the required power despite connections being in place. Trying a different PSU can help ascertain this.
13. Case Short Circuits
Occasionally, the PC case or misplaced standoffs can cause short circuits, leading to display issues.
Inspect Standoffs
Make sure standoffs are only where they’re supposed to be. Extra standoffs can touch the back of the motherboard and cause shorts.
Test Outside the Case
Assemble essential components outside the PC case on a non-conductive surface, like a wooden table or a motherboard box, and try booting. If it works, the case or its arrangement might be the issue.
14. Seek Expert Help
If all else fails, it’s time to consult a professional.
Visit a Repair Shop
Professional technicians have specialized equipment and expertise to diagnose complex issues.
Online Communities
Platforms like Reddit, Tom’s Hardware, and PCPartPicker have communities that can provide insights or solutions.
FAQs
Can a faulty power supply cause a “no display” issue, even if the fans and lights are on?
Yes, it’s possible. A power supply can still deliver some power to the fans and LEDs but not enough to other crucial components, like the CPU or GPU, resulting in no display.
It’s always a good idea to test with a known working power supply if you suspect yours might be the issue.
Can outdated drivers be a reason for no display after booting into the OS?
While the initial boot display (like BIOS or motherboard logo) is independent of drivers, outdated or incompatible graphics drivers can indeed cause black screens or no display after you boot into the operating system.
Booting in safe mode and updating or rolling back drivers can help resolve this.
Do I need to install motherboard or GPU drivers before I can see a display?
No, your system should display the POST (Power-On Self-Test) screen, BIOS, or UEFI settings and even boot into the OS without specific motherboard or GPU drivers.
These drivers enhance performance and compatibility but aren’t necessary for initial display output.
Can a “no display” issue be caused by an overheating component?
Absolutely. If components, especially the CPU or GPU, overheat quickly upon startup, it can lead to no display or a system shutdown to protect the hardware. Ensure your cooling solutions, like heatsinks and fans, are correctly installed and functional.
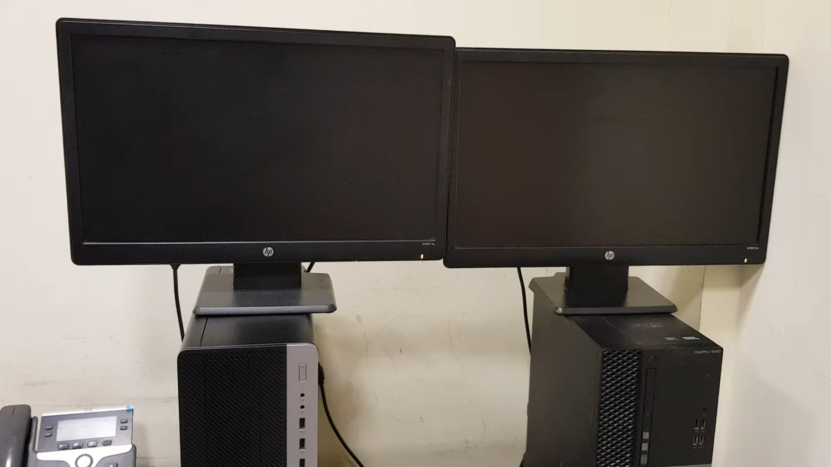
If I’m using dual or multiple monitors and encounter a “no display” issue, what should I do?
When using multiple monitors, it’s advisable first to try booting with just one monitor connected. If that works, the issue could be with monitor settings, cable connections, or GPU output selections.
Once you get a display on one monitor, you can then diagnose multi-monitor setups within the OS settings.
Can BIOS battery failure lead to a “no display” situation?
While a failing or dead CMOS battery primarily affects system time and BIOS settings, in rare cases, it can lead to boot and display issues. If you suspect the battery might be the cause, they are inexpensive and easy to replace.
Final Words
There are numerous factors that can lead to a “no display” issue in a new PC build. The key is patience and methodical troubleshooting. By following the steps above, you can pinpoint the root cause and bring your machine to life. If ever in doubt, don’t hesitate to seek expert assistance – better safe than sorry!
Our website also covers gaming and related troubleshooting themes, so in case you need a quick fix for Destiny 2, check out our latest article that explains how to fix the problem when prompted to restart the application using Battle.net.